Pumpkin Life Cycle Activities for Kindergarten to Grade 2
SpyLore · TPT seller SEO guide
Pumpkin Life Cycle Activities for Kindergarten to Grade 2
Teach pumpkin growth with sequencing cards, observation journals, a sample lesson, assessment questions, and clear resource-design tips for K-2.
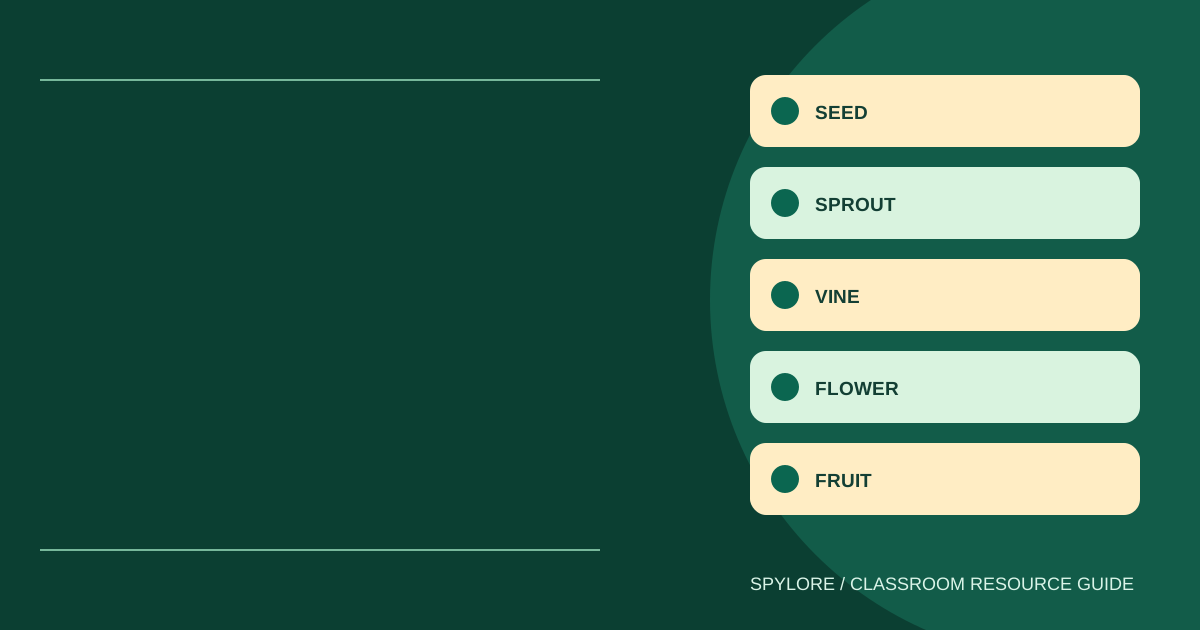
Pumpkin life cycle activities give young learners a concrete way to discuss how plants change. For kindergarten through grade 2, start with observation and a simple sequence: seed, sprout, growing vine, flower, and developing pumpkin. Use photographs or accurate drawings, and explain that a classroom sequence simplifies a living process.
A pumpkin plant can have leaves, flowers, and fruits at the same time. Picture cards show an order for discussion; they do not mean every earlier structure disappears when the next one develops. This distinction helps students move beyond memorizing a row of pictures.
A 25-minute introductory lesson
Spend five minutes asking what children notice about a pumpkin or photograph. Separate observations from predictions: “It is orange” is an observation, while “It has many seeds inside” is a prediction until students see the interior. Have an adult prepare any cut pumpkin in advance.
Use ten minutes to model the growth sequence with five large cards. Give partners five minutes to retell it and five minutes to draw one stage with a caption or dictated sentence. Ask what evidence could show that a plant has changed over time.
1. Sequence and explain
Give pairs seed, sprout, vine, flower, and fruit cards. Students arrange them and explain one connection: “The sprout grows into a larger plant.” Include an illustrated answer strip for independent checking after the discussion.
For support, begin with three cards: seed, growing plant, pumpkin. For extension, keep all five and ask children to explain how seeds in a mature fruit can begin another plant's life cycle. Do not require scientific vocabulary before children understand the visible change.
2. Keep an observation journal
If your class grows a seed, record the planting date and make drawings at regular intervals. Each entry can include what is visible, a measurement where appropriate, and a question. Follow the seed supplier's growing instructions and local classroom rules.
Do not promise a harvest during a short autumn unit. If the plant does not sprout, compare conditions and discuss possible explanations rather than changing the record. Photographs from different dates can support the lesson when the season, space, or growing conditions make a live project impractical.
3. Compare outside and inside
Provide an intact pumpkin image and an adult-prepared cross-section image or specimen. Students draw what they can observe, labeling the stem, outer surface, and seeds with teacher support. Ask which parts were visible before the pumpkin was opened.
Use a visual alternative for children who do not want to touch the specimen. Seeds and plant material are observation tools here, not a snack; follow classroom handling rules. An adult should manage cutting and cleanup.
4. Measure and describe
Compare two pumpkins using nonstandard units such as identical blocks beside their height. Keep the starting point and orientation the same. Students can record “Pumpkin A is six blocks tall; Pumpkin B is four blocks tall.”
Ask why two groups might get different measurements. Different block sizes or gaps between blocks are useful discussion points. Avoid inferring age from size alone; these observations do not tell students when each pumpkin began growing.
5. Create a class explanation book
Assign each group one stage. Children contribute an original drawing and a sentence explaining what is changing. Assemble the pages in sequence and add a final page showing seeds starting another cycle. Revisit the book after a journal observation to improve a caption.
For early writers, allow dictation. For older learners, ask for two connected sentences and a question they still have. Assessment can focus on sequence and explanation rather than drawing skill.
Three quick assessment questions
- Which card shows the beginning of a new plant in our sequence? Expected answer: the seed.
- Where does a developing pumpkin appear in our sequence? Expected answer: after flowering, on the plant.
- Can a plant have flowers and fruit at the same time? Expected answer: yes; the cards simplify its growth.
Use a drawing or oral response if writing would obscure the science knowledge. If a child confuses seed and fruit, return to an observation rather than simply rehearsing the order.
Design a resource teachers can evaluate
Include accurate stage cards, two sequence options, a blank journal, measurement sheets, a vocabulary page, and teacher answers. Clearly identify whether photographs, seeds, or pumpkins are supplied by the buyer. Provide original or properly licensed artwork and describe any printing or cutting preparation.
Use TPT product-title guidance to keep the grade and science purpose clear. The fall literacy centers guide offers an oral retelling connection without turning unfamiliar science words into independent phonics tasks.
Seasonal research context
This is a classroom-focused angle within the broad fall activities topic. Google Trends US data showed a September 2026 rise for “fall activities”; it also surfaced “pumpkin picking near me” under Halloween related queries. Neither finding measures demand for pumpkin life cycle worksheets. Treat the lesson angle as an editorial hypothesis, and verify exact keywords before committing to a large product.
FAQ
Do I need to grow a pumpkin plant?
No. Accurate photographs, sequencing cards, and a prepared specimen can support observation and explanation.
Is this a Halloween lesson?
It can be taught as an autumn plant-science lesson without costumes, ghosts, or holiday references.
Should I teach a fixed number of days for each stage?
Avoid a universal timetable. Growing conditions and varieties differ; use dated observations for any live classroom project.